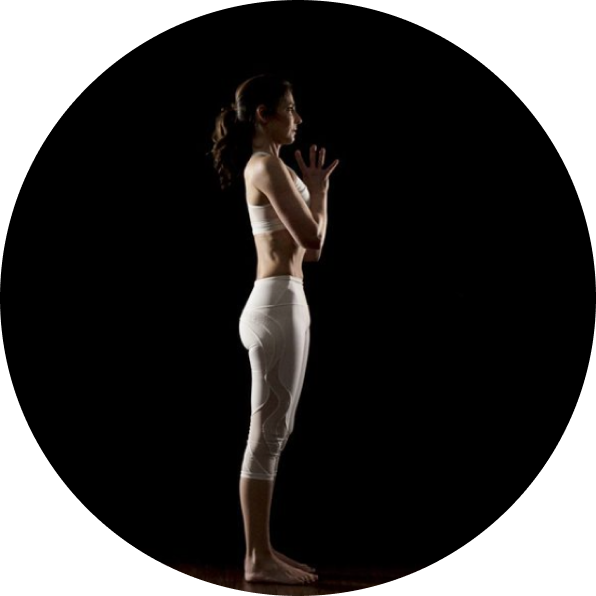
One of the most common places to get injured in yoga is the shoulder. That’s why we sometimes need some self-care after an injury.
As bipedal humans, we aren’t built to spend a lot of time on our hands, so doing things like yoga or any other functional movement method requires particular attention to both avoid and treat shoulder pain.
Let’s take a look at some of the best positions in yoga for shoulder pain.
Understanding Shoulder Anatomy and Common Injuries
The tricky thing with the shoulder is that it’s our most mobile joint in the body, which means it’s also the most inherently unstable. Shoulder pain in general is the third most common reason for doctors visits following spine and knee. The most common cause of shoulder pain is due to impingement between the point of the shoulder (acromion) and ball of the humerus (upper arm bone), which is where the rotator cuff lies.
The rotator cuff consists of four muscles which lie upon the scapula: supraspinatus, infraspinatus, teres minor, and subscapularis. The tendons of these muscles “cuff” the head of the humerus and essentially hold the ball of the shoulder within the socket. Because of the narrow space, any disruption in the mechanics of the ball within the socket can irritate those tendons and rotator cuff tendinitis (acute inflammation) ensues.
Repetitive upper extremity movements, like the ones done time over time in many traditional yoga classes with the chaturanga vinyasa can do a number on the rotator cuff and long head of the biceps tendon. The good news is that simple changes to your yoga practice can both avoid and treat shoulder pain by decreasing inflammation within the joint and strengthening the supportive muscles around the shoulder girdle.
3 Simple Yoga for Shoulder Pain Relief Moves
Try these 3 simple shoulder saving moves to both treat and avoid shoulder pain with yoga:
Align Your Down Dog
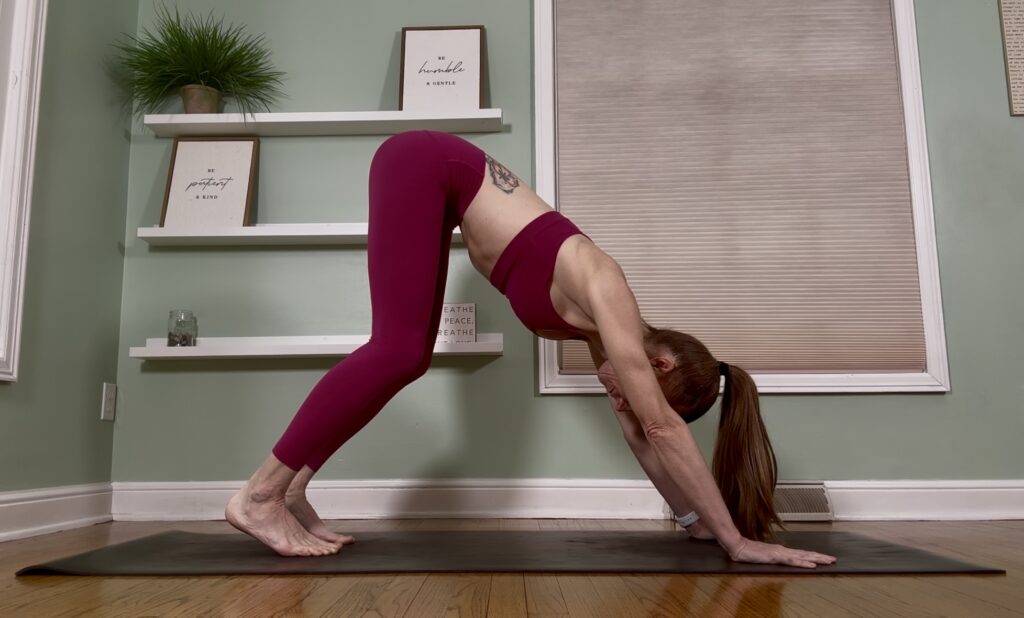
This is a common cue in traditional yoga to “bring the chest closer to the thighs” in downward facing dog. This causes most people to sag into the armpits, compressing the space where the rotator cuff lies and stretching out the ligaments of the joint.
Align your down dog for better shoulder positioning by bending the knees generously to take tension off the lower back and allowing the shoulder blades to settle into a more neutral position on the rib cage.
Shift the shoulders forward so the ears are slightly in front of the arms, decreasing the impingement of the rotator cuff and allowing the body to support the weight of the trunk through the shoulder blades as opposed to the susceptible ball-and-socket joint.
This also allows you to strengthen the shoulder girdle as opposed to relying on the passive shoulder structures to hold you up.
Lengthen Your Plank from Head to Toe
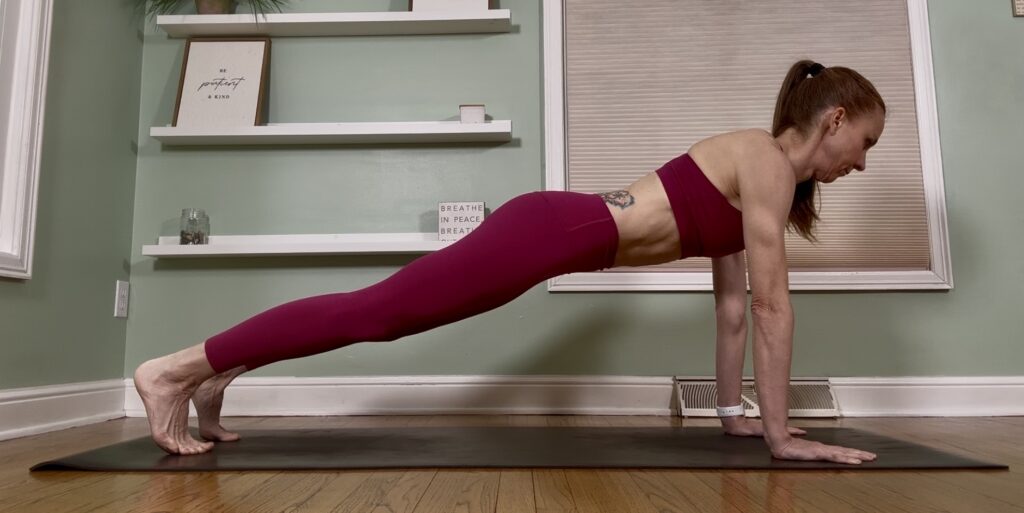
Another common cue in traditional yoga is to “keep the hips up in line with the shoulders” and then “shift forward bringing the shoulders past the wrists” below lowering down.
This shortened set up of plank puts the shoulder at a disadvantageous position when setting up for lowering down. Lengthen your plank by dropping the hips down below the level of the shoulders and lifting the ears up above the shoulders, creating one long line of the body from the crown of the head to the heels.
The shoulders will be directly over the wrists, or even a little bit behind the wrists if your shoulders are actively bothering you. This way, when you lower the shoulders and head are able to stay lifted and the chest can stay open, keeping the ball of the shoulder (head of the humerus) from diving towards the floor and straining the anterior shoulder structures, like the long head of the biceps tendon.
Drop Your Knees
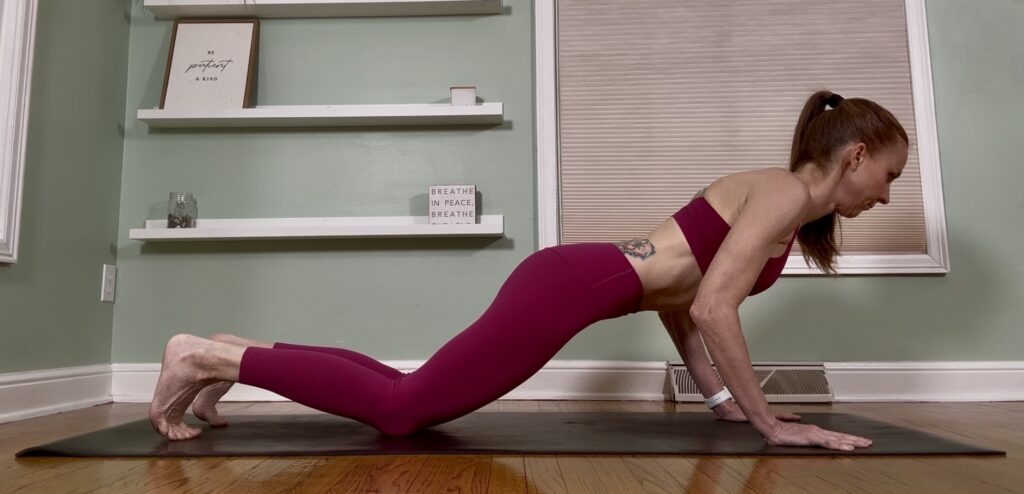
Many people think it’s “cheating” to drop the knees when lowering from plank to the belly. However, dropping the knees is a great way to work on maintaining the proper positioning of the head, shoulders and trunk while utilizing the strength of the rotator cuff to hold the arm bone within the socket dynamically while you lower down.
The number of times a person may lower from plank in a single yoga class can be quite high depending on the flow or level of the class. Keeping the shoulder safe is about building strength and endurance while keeping this unstable joint set and centered within the socket.
Dropping the knees throughout the class allows more time to focus on technique and minimizes the likelihood of rotator cuff irritation.
Little adjustments like these three simple moves will go a long way towards preserving your shoulders and keeping you practicing on the mat for years to come. We have an entire library of classes on the LYT Daily platform which focus on treating shoulder pain and strengthening the rotator cuff.
You can also always schedule a private session with one of our LYT teachers for an in-depth assessment of your specific shoulder mechanics and ways to get better both on the mat and off!