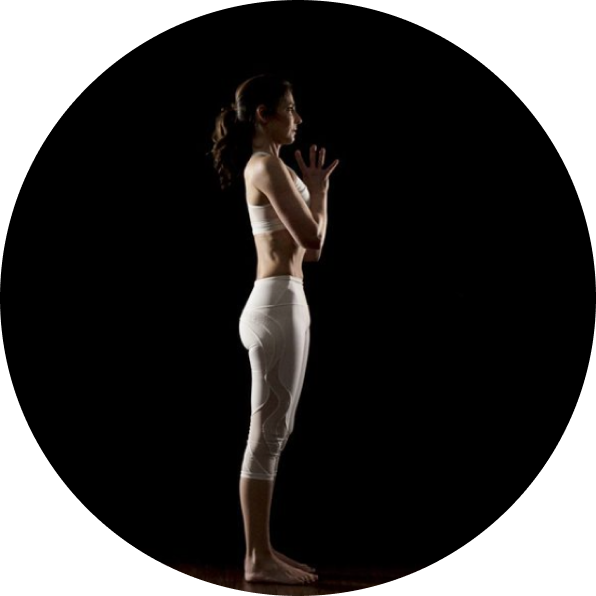
Having poor foot intrinsic muscle activation can be an unknown cause of foot and ankle pain. Your foot intrinsic muscles are small muscles in the feet that help control your foot mechanics, provide balance and stability, and help with proprioception (your ability to sense the environment). When people come in with physical therapy with foot, ankle, knee, hip, and even back issues, we often check their foot mechanics by analyzing their gait and using the exercises listed below to see how well they can control their feet. Yoga classes can help with strengthening the foot muscles. You can get the best of both worlds by combining intrinsic foot exercises with daily yoga classes.
By keeping your foot’s intrinsic muscles active and healthy, you are setting yourself up for success every time your foot hits the ground. In other words, happy feet equals a happy life! Give these moves a try to see how well you can activate your foot. If these exercises are hard or you physically can’t do them, don’t worry. Our brains are smart and the more you practice, the easier these will become. We often tell patients, “Just keep staring at your foot and thinking about moving it. It’ll eventually happen.” This is because of the ‘use it or lose it’ principle in neuroanatomy. If we do not use a muscle, our brain shuts down that neural pathway in favor of saving energy for the systems we use more often. This is problematic if you are not using the appropriate muscles to carry out your activities of daily living. If we strengthen that neural pathway with concentrated attention and repetition through yoga classes, we can get control back. Pay special attention to these little muscles of the foot to improve your arch support and foot mobility, and ultimately move better!
1. Toe yoga
Instructions:
- Start position: seated or standing with foot flat on the floor.
- Lift the big toe without lifting the other four toes. Focus on pressing the balls of your little toes down to stabilize, but don’t grip the floor with your toes. Lower down.
- Lift the little toes without lifting the big toe. Focus on driving the ball of the big toe down to lift the little toes up. Again, don’t grip the floor by curling the toes. Lower.
- Keep alternating between the two (Figures 1 & 2).
Parameters: 2 sets of 15-20x.
2. Big toe abduction
Instructions:
- Start position: seated or standing with both feet side by side but without touching. (Figure 3.)
- Slide big toes together without lifting your foot off the floor. (Figure 4.) Return to neutral.
- Repeat.
Parameters: 2 sets of 15-20x.
3. Arch doming progression
Progression #1
- Start position: seated or standing with foot flat on the floor.
- Pick up all the toes but keep the balls of the feet connected to the floor. Feel how this raises your arch. (Figure 5.)
- Keep your arch height as you slowly let the toes come down. (Figure 6.) Hold for 5 seconds. Release the arch and relax.
- Repeat.
Parameters: 2 sets of 15-20x.
Progression #2
- Start position: seated or standing, with foot flat on the floor. (Figure 7.)
- Raise the arch of your foot without curling the toes. (Figure 8.) Hold for 5 seconds.
- Relax. Repeat.
Parameters: 2 sets of 15-20x.
Progression #3
- Start position: standing with feet flat on the floor. (Figure 7.)
- Hold your arch up – we call this “doming”. (Figure 8.)
- Dome the arch while performing different movements. Try a squat, lunge, and side lunge. See how well you can maintain good arch support with these movement patterns. Repeat.
Parameters: 2 sets of 15-20x.
4. Big toe extension stretch
Instructions
- Start position: sitting, foot flat on the floor.
- Lift the heel off the floor, like a heel raise. (Figure 9.)
- Slide your foot back until you feel a stretch on your big toe. Keep your foot from turning in or out as you do this.
- Hold for 5 breaths.
- Repeat.
Parameters: Perform 2 sets.
Shoot me a video to show off your foot skills and have a healthy, happy, barefoot summer!
XO,
Thalia Wynne, PT, DPT, AT
@thalialovee